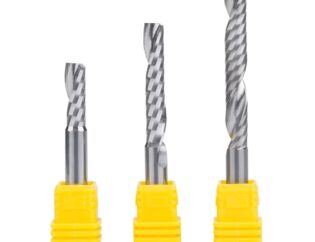
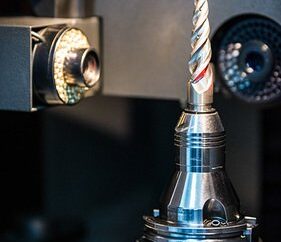
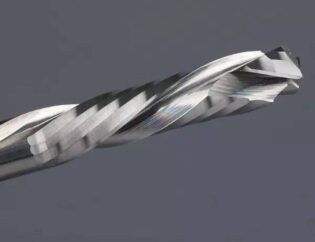
Turning refers to lathe processing, which is a part of machining. Lathe processing mainly uses turning tools to turn the rotating workpiece. Lathe is mainly used to process shaft, disc, sleeve and other workpieces with rotary surface. It is the most widely used machine tool in machinery manufacturing and repair factory.
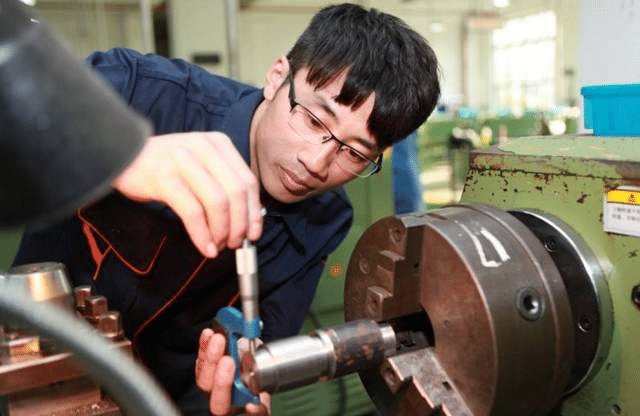
The skills of lathe workers are endless. The most common lathe workers don’t need too high skills. Can be divided into five categories of Turner, which is currently the most common in society
1.General mechanical lathe, easy to learn, find a lathe processing department, better than you learn in school
2.Mold Turner, especially plastic mold precision Turner! Strict requirements for cutting tools, accurate size
3.Tool Turner, reamer, drill, alloy cutter head, this kind of Turner is the simplest, the best and the most tiring
4. Large equipment Turner, this kind of Turner must have senior technology, young people dare not to drive!!
5. CNC lathe, this kind of lathe is the simplest and the most difficult. First of all, you should be able to see the drawing, programming, conversion formula, tool application!!!
As long as you master the lathe theory and have some knowledge of mathematics, machinery and CAD, you can learn it quickly
Brief intro
It is to change the shape and size of the blank by using the rotary motion of the workpiece and the linear or curvilinear motion of the cutter on the lathe, and process it to meet the requirements of the drawing.
Turning is a method of cutting workpiece by using workpiece relative to tool rotation on lathe. The cutting energy of turning is mainly provided by the workpiece rather than the tool. Turning is the most basic and common cutting method, which plays a very important role in production. Turning is suitable for machining rotary surface. Most workpieces with rotary surface can be machined by turning method, such as inner and outer cylindrical surface, inner and outer conical surface, end face, groove, thread and rotary forming surface, etc.
In all kinds of metal cutting machine tools, lathe is the most widely used one, accounting for about 50% of the total number of machine tools. The lathe can not only turn the workpiece with turning tool, but also drill, ream, tap and knuckle with drill, reamer, tap and knuckle. According to the process characteristics, layout and structural characteristics, lathes can be divided into horizontal lathes, floor lathes, vertical lathes, turret lathes and copying lathes. Most of them are safety technical problems of horizontal lathes. Turning is the most widely used one in the machine manufacturing industry. There are a large number of lathes, a large number of people, a wide range of processing, and the tools and tools used There are many kinds of fixtures, so the safety technology of turning is particularly important
1. Chip damage and protective measures.
2. Loading of workpiece.
3. Safe operation.
cautions
The processing technology of CNC lathe is similar to that of ordinary lathe, but because CNC lathe is one-time clamping, continuous and automatic processing to complete all turning processes, we should pay attention to the following aspects.
1.Choose fit cutting parameter:
For high efficiency metal cutting, the processed materials, cutting tools and cutting conditions are the three major elements. These determine the processing time, tool life and processing quality. The economic and effective machining method must be reasonable selection of cutting conditions. The three elements of cutting conditions: cutting speed, feed and cutting depth directly cause tool damage. With the increase of cutting speed, the temperature of tool tip will rise, which will produce mechanical, chemical and thermal wear. If the cutting speed is increased by 20%, the tool life will be reduced by 1 / 2. The relationship between the feed condition and the tool wear is very small. But when the feed rate is large, the cutting temperature rises, and the back wear is large. It has less influence on the tool than the cutting speed. Although the influence of cutting depth on the tool is not as big as cutting speed and feed rate, the hardened layer of the material to be cut will also affect the life of the tool. The user should select the cutting speed according to the material, hardness, cutting state, material type, feed rate, cutting depth, etc. The most suitable processing conditions are selected on the basis of these factors. Regular and stable wear is the ideal condition. However, in the actual operation, the selection of tool life is related to tool wear, dimension change, surface quality, cutting noise, processing heat and so on. In determining the processing conditions, it is necessary to study according to the actual situation. For stainless steel and heat-resistant alloy and other difficult to machine materials, you can use coolant or choose a rigid blade.
2.choose fit machining tool:
(1) In rough turning, the cutting tools with high strength and good durability should be selected, so as to meet the requirements of large back feed and large feed.
(2) When finishing turning, the cutting tools with high precision and good durability should be selected to meet the requirements of machining accuracy.
- In order to reduce the tool changing time and facilitate tool setting, the machine clamping tool and machine clamping blade should be used as far as possible.
3.choose fit clamping:
(1) Try to use general fixture to clamp workpiece, avoid using special fixture
- In order to reduce the positioning error, the positioning datum of parts coincides.
4. Determine the processing route: the processing route refers to the movement track and direction of the cutter relative to the part in the process of CNC machine tool processing.
It should be able to meet the requirements of machining accuracy and surface roughness;
The processing route should be shortened as far as possible to reduce the tool idle travel time.
5. The relationship between machining path and machining allowance
At present, under the condition that the numerical control lathe has not been widely used, it is generally necessary to arrange the excessive allowance on the blank, especially the allowance with forging and casting hard skin layer, to be processed on the ordinary lathe. If must use the numerical control lathe processing, then needs to pay attention to the program flexible arrangement.
6. Key points of fixture installation:
At present, the connection between the hydraulic chuck and the hydraulic clamping cylinder is realized by the * pull rod, and the clamping points of the hydraulic chuck are as follows: first, remove the nut on the hydraulic cylinder with the handle, remove the pull pipe, and pull it out from the rear end of the spindle, and then remove the fixed screw of the chuck with the handle to remove the chuck
General code
General process code for turning (JB / t9168.2-1998)
The extension of the turning tool holder should not be too long. Generally, the length should not exceed 1.5 times the height of the tool holder (except for turning holes, grooves, etc.)
The center line of the turning tool bar should be perpendicular or parallel to the tool running direction.
1. Adjustment of tool tip height:
When turning the end face, the conical surface, the thread, the forming surface and the solid workpiece, the tool tip should be equal to the axis of the workpiece.
Generally, rough turning, fine turning and tool tip should be slightly higher than workpiece axis.
When turning thin long axis, rough hole and cutting hollow workpiece, the tool tip should be slightly lower than the workpiece axis.
The bisector of the sharp angle of the thread turning tool should be perpendicular to the axis of the workpiece.
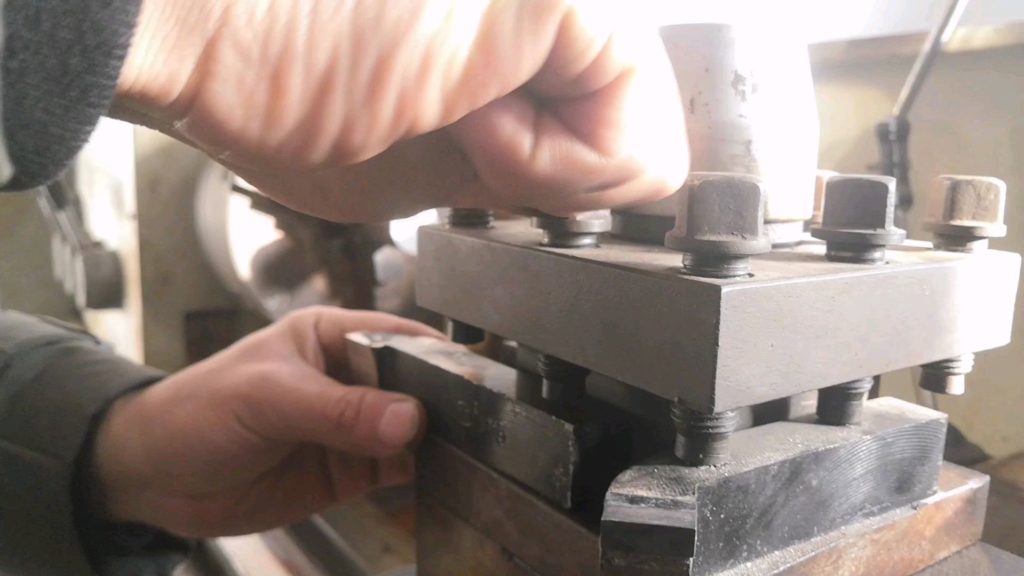
When clamping the turning tool, the gasket under the tool bar should be less and flat, and the screw for pressing the turning tool should be tightened.
2.Workpiece clamping
1) When the workpiece is clamped with three jaw self centering chuck for rough turning or finish turning, if the diameter of the workpiece is less than 30mm, the overhanging length shall not be more than 5 times of the diameter; if the diameter of the workpiece is more than 30mm, the overhanging length shall not be more than 3 times of the diameter.
2) When using four jaw single action chuck, flower plate, angle iron (bending plate) to clamp irregular heavy workpieces, counterweight must be added.
3) When machining shaft workpiece between centers, the axis of tailstock center should be adjusted to coincide with the axis of lathe spindle before turning.
4) When machining slender shaft between two centers, heel rest or center rest should be used. In the process of machining, we should pay attention to adjust the top tightening force of the center, and pay attention to the lubrication of the dead center and the center frame.
5) When using tailstock, the sleeve should be extended as short as possible to reduce vibration.
6) When the workpiece with small bearing surface and high height is clamped on the vertical lathe, the heightened claw shall be used, and the pull rod or pressing plate shall be added at the appropriate position to compress the workpiece.
7) When turning wheel and sleeve castings and forgings, they should be aligned according to the surface that is not machined, so as to ensure the uniform wall thickness of the workpiece after machining.
3.turning machining
1) When turning step shaft, in order to ensure the rigidity of turning, generally the larger diameter part should be turned first, and then the smaller diameter part.
2) When slotting the workpiece on the shaft, it should be done before finishing to prevent deformation of the workpiece.
3) When finishing turning the shaft with thread, it is generally necessary to finish turning the unthreaded part after thread processing.
4) Before drilling, the end face of the workpiece should be turned flat. If necessary, the center hole should be drilled first.
5) When drilling a deep hole, the pilot hole is usually drilled first.
6) When turning (Φ 10-Φ 20) mm holes, the diameter of the tool bar should be 0.6-0.7 times of the hole diameter to be machined; when machining holes with diameters larger than Φ 20 mm, the tool bar with clamping tool head should be generally used.
7) When turning multi head thread or multi head worm, try cutting should be carried out after adjusting the exchange gear.
8) When using the automatic lathe, the relative position of the cutter and the workpiece should be adjusted according to the adjustment card of the machine tool. After the adjustment, the trial cutting should be carried out, and the machining can be carried out only after the first piece is qualified. In the process of machining, attention should be paid to the wear of the cutter and the size and surface roughness of the workpiece at any time.
9) When turning on the vertical lathe, when the tool rest is adjusted, it is not allowed to move the beam at will.
10) When there are position tolerance requirements on the surface of the workpiece, try to finish turning in one clamping.
11) When turning cylindrical gear blank, the hole and reference end face must be machined in one clamping. If necessary, mark the line near the gear indexing circle of the end face.
4.error compensation
Modern mechanical manufacturing technology is developing towards high efficiency, high quality, high precision, high integration and high intelligence. Precision and ultra precision machining technology has become the most important part and development direction of modern machinery manufacturing, and has become the key technology to improve the international competitiveness. With the wide application of precision machining, turning error has become a hot topic. Because thermal error and geometric error account for the majority of all kinds of errors of machine tools, reducing these two errors, especially the thermal error, has become the main goal. With the continuous development of science and technology, error compensation technology (ECT) appears and develops. The loss caused by thermal deformation of machine tool is quite large. Therefore, it is necessary to develop a high-precision and low-cost thermal error compensation system to correct the thermal error between the spindle (or workpiece) and the cutting tool, so as to improve the machining accuracy of the machine tool, reduce the waste products, and increase the production efficiency and economic benefits.
Basic definition and characteristics of error compensation
The basic definition of error compensation is to artificially create a new kind of error to offset or greatly weaken the original error which has become a problem at present. Through analysis, statistics, induction and mastering the characteristics and laws of the original error, the error mathematical model is established to make the artificial error and the original error equal in value and opposite in direction as far as possible, so as to reduce the machining error and improve the accuracy of parts The accuracy of the measurement.
The earliest error compensation was realized by hardware. Hardware compensation belongs to mechanical fixed compensation. To change the compensation amount when the error of machine tool changes, it is necessary to remake parts, calibration ruler or adjust the compensation mechanism. Hardware compensation can not solve the problem of random error and lack of flexibility. The characteristic of software compensation is that it can improve the machining accuracy of machine tool by using the advanced technology and computer control technology of various subjects without any change to the machine tool itself. Software compensation overcomes many difficulties and shortcomings of hardware compensation and pushes compensation technology to a new stage.
Error compensation (Technology) has two main characteristics: scientific and engineering
The rapid development of scientific error compensation technology has greatly enriched the theory of precision mechanical design, precision measurement and the whole precision engineering, and has become an important branch of this discipline. The technologies related to error compensation include detection technology, sensing technology, signal processing technology, photoelectric technology, material technology, computer technology and control technology. As a new branch of technology, error compensation technology has its own independent content and characteristics. It is of great scientific significance to further study the error compensation technology and make it theoretical and systematic.
The engineering significance of engineering error compensation technology is very significant, which includes three meanings: first, using error compensation technology can easily achieve the accuracy level that “hard technology” can only achieve at a great cost; second, using error compensation technology can solve the accuracy level that “hard technology” usually can not achieve; third, using error compensation technology can solve the problem that “hard technology” can not achieve; Third, under the condition of meeting certain accuracy requirements, if the error compensation technology is adopted, the cost of instrument and equipment manufacturing can be greatly reduced, which has very significant economic benefits.
Generation and classification of thermal error in turning
With the further improvement of the accuracy requirements of machine tools, the proportion of thermal error in the total error will continue to increase, and the thermal deformation of machine tools has become the main obstacle to improve the machining accuracy. Thermal error of machine tool is mainly caused by thermal deformation of machine tool components caused by internal and external heat sources such as motor, bearing, transmission parts, hydraulic system, ambient temperature, coolant, etc. Geometric errors of machine tools come from manufacturing defects, matching errors between machine parts, dynamic and static displacement of machine parts, etc. Basic methods of error compensation
To sum up and related references, it can be seen that turning errors are generally caused by the following factors:
Thermal deformation error of machine tool; geometric error of machine parts and structure; error caused by cutting force; tool wear error; other error sources, such as servo error of machine shafting, CNC interpolation algorithm error, etc.
There are two basic methods to improve the accuracy of machine tools: error prevention method and error compensation method.
The error prevention method tries to eliminate or reduce the possible error sources through design and manufacturing. To a certain extent, the error prevention method is effective to reduce the temperature rise of heat source, balance the temperature field and reduce the thermal deformation of machine tool. However, it is impossible to completely eliminate the thermal deformation, and the cost is very expensive;
The application of thermal error compensation law opens up an effective and economic way to improve the accuracy of machine tools.
Leave a Reply
Your email address will not be published.
